
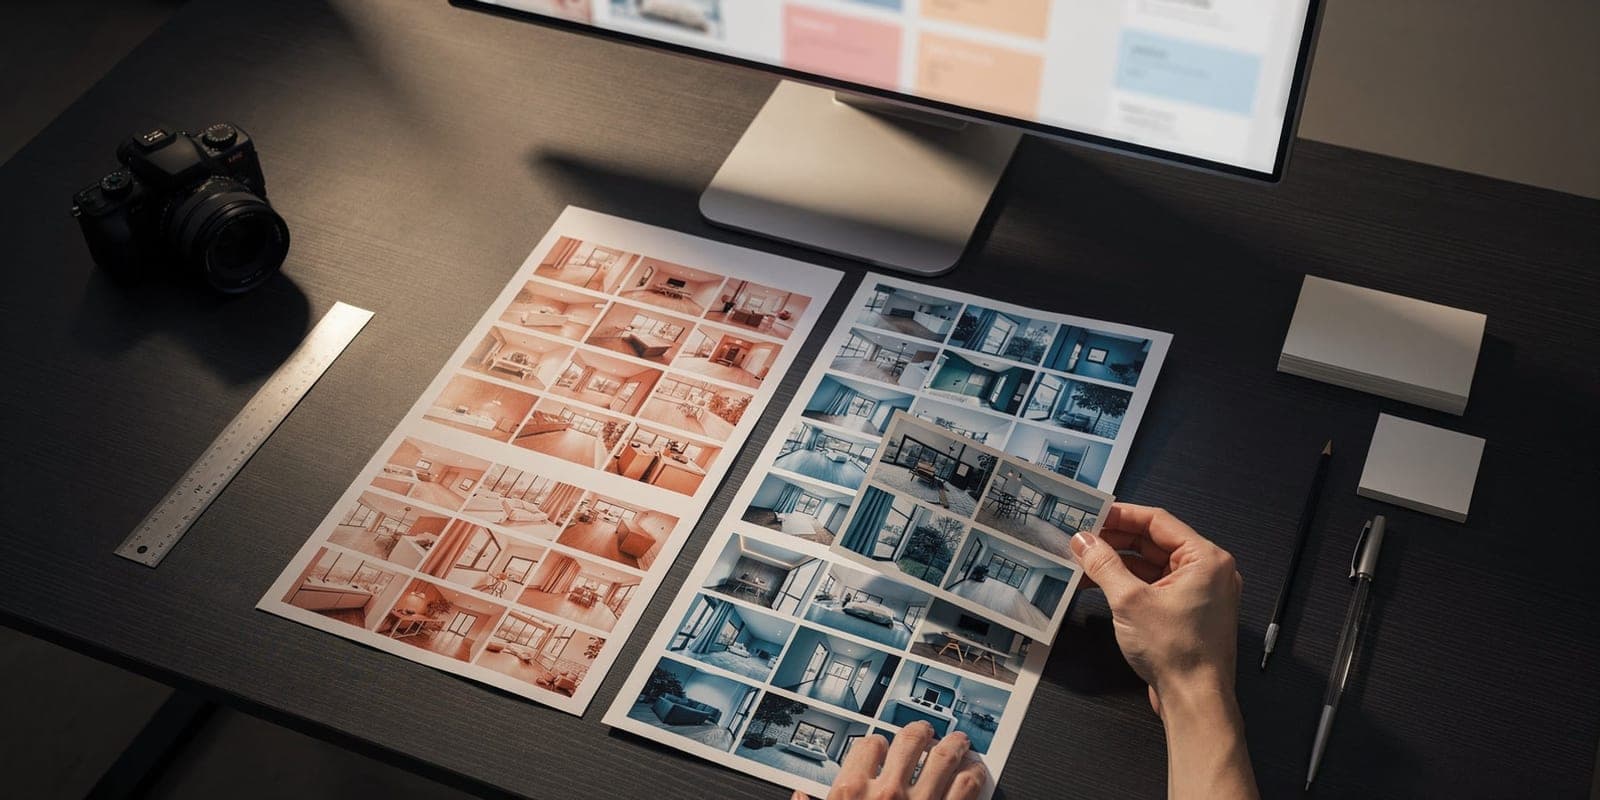
A reliable AI workflow for real estate photographers uses two lanes: routine images move through standardized batch enhancement and quality control, while hero shots and problem images move to an exception queue for manual attention.
High-volume real estate photography rarely breaks because a photographer cannot edit one difficult image. It breaks because hundreds of ordinary decisions must be repeated across every shoot: what to cull, which interiors need correction, which exterior deserves a sky replacement, and which artifact needs a manual fix.
At 15, 30, or 50 shoots per month, those decisions need a production system. AI can remove repetitive editing, but only when it sits inside a workflow that protects consistency, accuracy, and client trust.
Why High-Volume Photographers Need a System
A fast editing tool can still leave a studio with slow operations:
- Files arrive with inconsistent names
- Similar rooms receive different color treatment
- Failed outputs are discovered at delivery time
- Hero images are processed like routine hallway shots
- Original and virtually staged versions are hard to match
- MLS and full-resolution exports get mixed together
- No one can see which jobs are waiting for review
At volume, coordination often costs more time than the edit itself. A useful workflow must deliver four outcomes: speed for routine work, consistency across each listing, control over exceptions, and traceability from original to delivery.
The Two-Lane AI Editing Model
Stop treating every frame as equally difficult.
Lane 1: Standard production
Use the standard lane for predictable, inspectable work:
- Interior lighting and white-balance correction
- Mild exposure balancing
- Straightening and reframing
- Routine clutter cleanup
- Natural blue-sky replacement
- Standard sharpening or upscaling
- Consistent treatment across similar rooms
Lane 2: Exceptions
Route images to the exception lane when they require judgement or precise control:
- Luxury hero photographs
- Complex window pulls or flash composites
- Mirrors, glass, and reflective surfaces
- Difficult object removal
- Architectural distortion
- Fine retouching around railings, foliage, or furniture
- Visible AI artifacts after one retry
- Any request that could misrepresent the property
The goal is not to automate every photograph. It is to keep the difficult minority from slowing down the predictable majority.
The Complete High-Volume Workflow
Step 1: Standardize each job before editing
Give every shoot the same folder structure:
2026-08-21_1450-Oak-Street_ClientName/
  01_RAW/
  02_SELECTS/
  03_AI_PROCESSING/
  04_EXCEPTIONS/
  05_QA/
  06_DELIVERY_MLS/
  07_DELIVERY_FULL/
  08_ARCHIVE/
Use the property address or a unique job number consistently. Avoid folders called final, final-new, and actual-final-2. That naming system survives approximately one busy Tuesday.
Name files so the original, enhanced, and staged versions remain easy to match:
1450-Oak-Street_001_Exterior-Front.jpg
1450-Oak-Street_002_Living-Room.jpg
1450-Oak-Street_003_Kitchen.jpg
Before processing, confirm the client, deadline, backup, bracket groups, and special requests.
Step 2: Cull before spending processing time
Remove accidental frames, test exposures, unrecoverable blur, weaker duplicates, blocked angles, and photographs that add no information to the listing. For bracketed or flambient work, select the correct source group rather than one frame from the sequence.
A purposeful set of 25 images is faster to process, review, and deliver than 60 repetitive images. Our room-by-room photography guide can help define the coverage a final set actually needs.
Step 3: Sort by treatment
Classify images before upload so treatment follows need.
| Group | Typical treatment |
|---|---|
| Standard interiors | Lighting, color balance, straightening, mild cleanup |
| Standard exteriors | Exposure, horizon, sky, lawn, and pool review |
| Hero images | Higher scrutiny, manual finish, or twilight treatment |
| Vacant rooms | Virtual staging review |
| Occupied rooms | Declutter or furniture-removal review |
| Low-resolution assets | Upscaling and artifact inspection |
| Exceptions | Manual edit, specialist review, or reshoot |
This prevents a primary exterior from receiving the same automatic treatment as a secondary hallway.
Step 4: Batch the predictable work
The standard lane is where AI saves the most time. Apply only the correction each group needs.
For interiors, start with lighting, white balance, straight verticals, and restrained cleanup. For exteriors, review the horizon, sky, lawn, pool, reflections, vehicles, and permanent surroundings. PropertyPixel's real estate photo enhancement tools bring those treatments into one listing workflow.
Do not stack every available enhancement onto every image. Each extra pass introduces another chance of unwanted change. Use the smallest effective sequence:
- Correct lighting and framing
- Review the result
- Apply a targeted correction only where needed
- Add staging, twilight, or another marketing upgrade only to selected frames
Step 5: Escalate failed images early
Set a retry limit. A practical rule is one standard result, one controlled retry with an adjusted treatment, then escalation.
Repeated generation can consume more time than a focused manual fix. Move unresolved images to the exception folder and put the reason in the filename:
1450-Oak-Street_014_Primary-Bathroom_MIRROR-ARTIFACT.jpg
1450-Oak-Street_021_Exterior-Rear_COMPLEX-REMOVAL.jpg
The next editor can see what needs attention without reconstructing the job history.
Step 6: Fix local problems locally
Do not reprocess an approved photograph because of one small distraction. Use a targeted edit for a temporary object, local color inconsistency, small artifact, or selected-area cleanup. Targeted AI edits preserve the rest of the image and reduce rework.
Step 7: Reserve upgrades for hero frames
Not every image needs to be dramatic. Reserve higher-impact treatments for the front exterior, main living space, kitchen, primary bedroom, and any defining view, pool, or architectural feature.
Possible upgrades include:
- Day-to-dusk conversion for the exterior hero
- Virtual staging for important vacant rooms
- Photo to Video for one animated hero image
- A crossfaded Listing Tour from 2–9 ordered photos
- A 3D virtual tour when enough source angles exist
When staging vacant rooms, select one coherent design direction for the listing. This virtual staging styles guide provides a repeatable selection framework.
Step 8: Review the set as one listing
Photographs can pass individually and still fail as a gallery. Review the delivery order at thumbnail size and look for:
- Exposure changes between adjacent rooms
- Inconsistent white balance
- Different skies across exterior angles
- Duplicate compositions
- Abrupt shifts between warm and cool treatment
- Furniture inconsistencies across staged rooms
- A weak hero image
- Missing coverage of an important feature
Use a five-second consistency test: move through the thumbnails quickly. Large visual shifts become easier to see when you stop inspecting details. Then open hero images and exceptions at full resolution.
Step 9: Run a structured quality check
Use the same checklist on every listing. Marketing teams can adapt the complete real estate photo quality control checklist for gallery sequencing, hero selection, channel delivery, and final approval.
Architecture and accuracy
- Walls, doors, windows, fixtures, and built-ins remain unchanged
- Room dimensions and proportions remain believable
- Views and neighboring features are accurate
- Damage and material defects have not been concealed
Technical quality
- Verticals are straight and horizons are level
- Highlights and shadows retain detail
- Colors look natural across the gallery
- Noise, compression, and halos are controlled
AI artifacts
- Furniture legs and edges are complete
- Mirrors and reflections make sense
- Handles, outlets, railings, and switches remain intact
- Textures do not melt or repeat
- No unexpected objects have appeared
Listing consistency
- Staged rooms use one coherent style
- Similar spaces share a color treatment
- Exterior lighting and skies match
- Edited images are disclosed where required
Step 10: Export for each delivery channel
Keep separate outputs for MLS or property portals, full-resolution client files, social crops, video, and retained originals. Follow the receiving platform's requirements rather than relying on one universal export. See the MLS photo size and requirements guide for dimensions, file format, and common rejection checks.
Keep names aligned across versions:
MLS/1450-Oak-Street_005_Living-Room.jpg
FULL/1450-Oak-Street_005_Living-Room.jpg
ORIGINALS/1450-Oak-Street_005_Living-Room_ORIGINAL.jpg
Step 11: Deliver with a clear handoff
The client should receive the property identifier, photo count, MLS and full-resolution links, disclosure of staged or materially edited images, video or 3D links, a revision process, and the file-retention period.
Do not make the client guess which files belong where or which images were virtually staged.
Build a Visible Production Queue
A simple production board can use these stages:
| Stage | Meaning |
|---|---|
| Received | Files arrived but have not been checked |
| Preflight | Backup, naming, and job details confirmed |
| Culling | Final image set being selected |
| Standard processing | Routine AI edits in progress |
| Exceptions | Manual or specialist work required |
| QA | Complete listing under review |
| Client review | Proof or initial delivery sent |
| Delivered | Final assets supplied |
| Archived | Originals, final files, and notes retained |
If several people touch the queue, assign one owner to each job and record when it entered the current stage. That makes bottlenecks visible before a deadline slips.
Metrics Worth Tracking
Track the workflow rather than relying on the feeling of being busy:
- Turnaround time per listing
- Active editing minutes per listing
- Delivered images per shoot
- First-pass AI acceptance rate
- Percentage routed to exceptions
- Retries per listing
- Client revision rate
- On-time delivery rate
- Processing cost per delivered image
- Revenue from staging, video, and 3D add-ons
The strongest operating metric is the percentage of listings delivered on time without avoidable rework. A faster first pass is not useful if it creates more corrections later.
Pro Tip
Review these metrics by client and property tier. A luxury client may justify a larger exception rate, while a standardized rental portfolio should move through the routine lane with very little manual intervention.
Common Workflow Mistakes
Processing before culling
This wastes credits, storage, and review time on photographs that will never be delivered.
Treating every frame as a hero image
Most listing photographs need to be clean and consistent, not individually dramatic.
Retrying without a limit
One adjusted retry is a process. Endless retries are a hidden manual workflow.
Reviewing one image at a time
Quality must be checked at full resolution and across the complete gallery.
Automating ethical decisions
Do not remove permanent features, conceal defects, or materially change the property without deliberate review. Keep originals and follow the applicable disclosure rules.
Frequently Asked Questions
Can AI replace Lightroom or Photoshop for real estate photographers?
AI can handle much of the standard correction lane, including lighting, cleanup, reframing, and selected marketing enhancements. Lightroom and Photoshop remain useful for RAW development, complex blending, precise color work, compositing, and difficult exceptions.
Should every image go through AI?
No. Use AI where it removes repetitive work and produces an inspectable result. Do not add processing to an image that is already ready for delivery.
How large should each batch be?
Process one complete listing at a time unless your operation has a reliable job-level grouping system. Keeping the property together makes consistency and file management easier than mixing several shoots in one queue.
How should a studio handle a failed result?
Allow one controlled retry. If it still fails, route it to the manual exception lane or recommend a reshoot when the source image is the problem.
Is AI editing suitable for luxury photography?
It is useful for routine corrections and supporting images, but luxury hero shots often justify more manual finishing. The workflow should let those frames bypass standard automation.
The Bottom Line
High-volume photographers do not need to automate every creative decision. They need to stop spending expert attention on predictable production work.
A two-lane system does that. Routine images move through standardized treatment and quality control. Complex images move into an exception queue where professional judgement creates the most value. The result is not just faster editing. It is a studio that can accept more work, maintain a consistent standard, and deliver on time.
Test the Two-Lane Workflow on a Real Shoot
Process routine corrections in PropertyPixel, keep problem frames in your exception lane, and compare active editing time against your current workflow.
No card required · Free results include a watermark
Continue Reading
AI Real Estate Photo Editing: The Complete Guide
Understand the corrections AI handles well and the limits that still matter.
Read articleBest Real Estate Photo Editing Software and Services
Compare AI tools, manual services, pricing, quality, and turnaround.
Read article10 Virtual Staging Styles and When to Use Each
Choose a credible design direction for every vacant listing.
Read articleReal Estate Image Workflow for Property Portfolios
Manage intake, versions, rights, approvals, and distribution across locations.
Read articleTry it on a photo from your next listing.
Brighten a room, clear clutter, or try virtual staging. Start with 500 free credits. No card required. Free results include a watermark.