
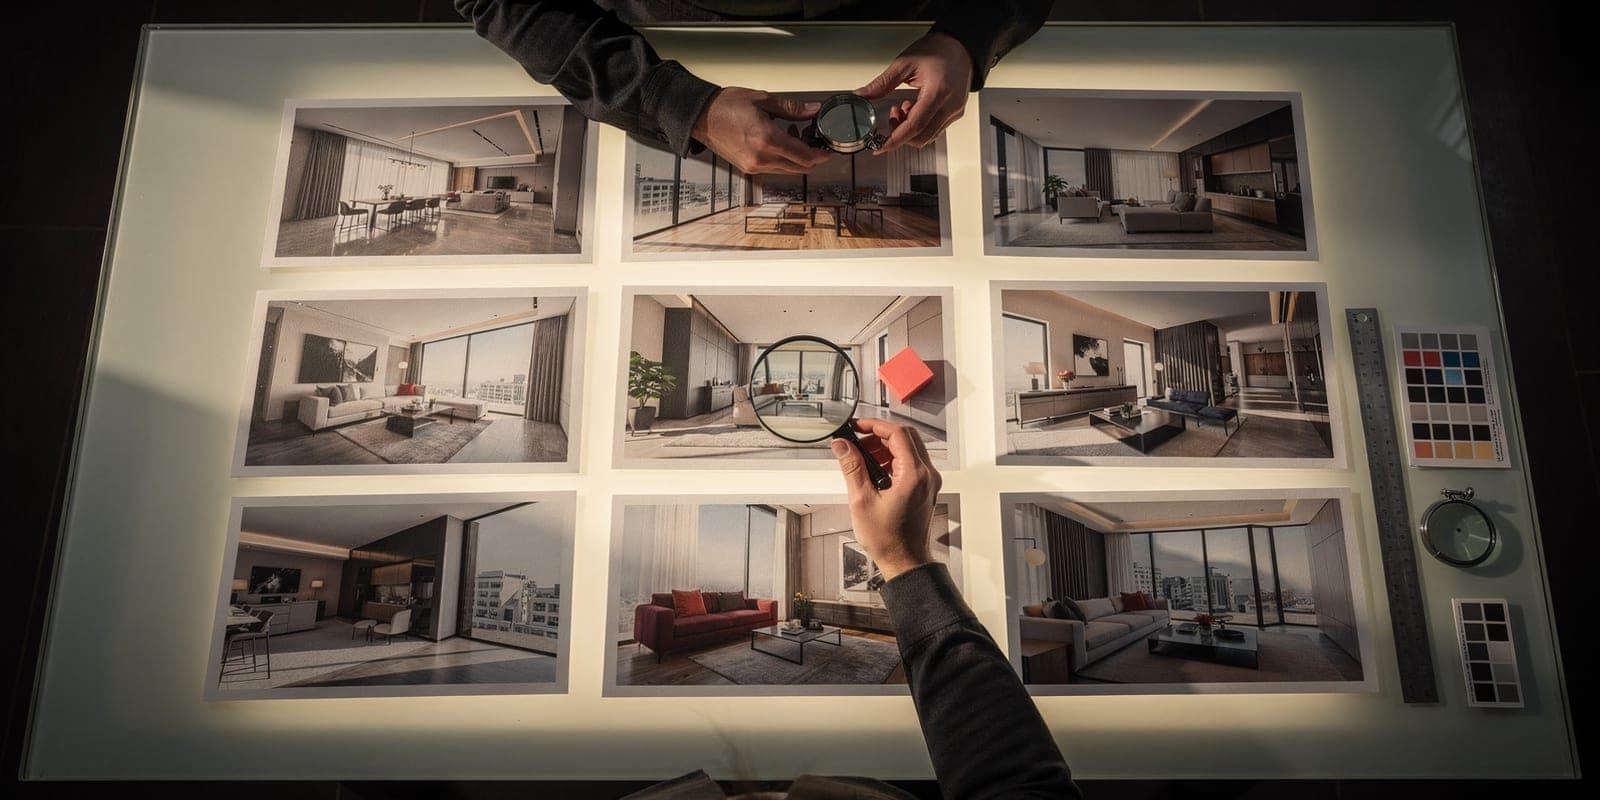
A real estate photo set can be technically polished and still fail as marketing. The hero image may be weak, rooms may change color from frame to frame, or an edit may promise something the property cannot deliver. This quality control checklist gives marketing teams a repeatable review process before photos reach the MLS, listing portals, social media, or paid campaigns.
Real Estate Photo Quality Control: Quick Answer
Review every listing in two passes. First, inspect the gallery at thumbnail size for coverage, order, and consistency. Second, open the hero image, edited photos, and flagged exceptions at full resolution to check accuracy and artifacts. Do not publish until the set passes these six gates:
- Property accuracy: Permanent features, condition, proportions, and views remain truthful.
- Coverage: The set includes the rooms and features a buyer needs to understand the property.
- Visual consistency: Exposure, color, perspective, skies, and editing style work as one gallery.
- Technical quality: Files are sharp, correctly oriented, cleanly exported, and suitable for the destination.
- Marketing readiness: The lead image is strong, the sequence tells a clear story, and campaign crops are intentional.
- Channel compliance: Branding, disclosure, dimensions, file size, and other requirements match each destination's current rules.
Your local MLS, brokerage, advertising platform, and jurisdiction may apply different requirements. Treat this checklist as an internal quality standard, then verify the rules for every channel where the photos will appear.
Why Marketing Teams Need a Formal Photo QA Process
Photo review often happens informally: someone opens a folder, spots a few obvious problems, and approves the set. That works until volume increases. Then reviewers apply different standards, late revisions multiply, and the same preventable problems reach production.
A documented process gives the team:
- A shared definition of "publish-ready"
- Clear ownership for corrections and approvals
- Faster review because routine checks happen in the same order
- A record of which images were edited, staged, or rejected
- Fewer mismatches between MLS, website, email, social, and paid media assets
- Better feedback for photographers, editors, and agencies
The goal is not to make every image perfect. It is to catch errors that affect trust, comprehension, brand quality, or campaign performance before they become expensive to fix.
Set Up the Review Before Opening the Files
Quality control starts with a clean handoff. Require each delivery to include:
- Property address or listing identifier
- Capture date and photographer or vendor name
- A clearly named final folder, separate from proofs and source files
- A list of virtually staged or materially edited images
- Intended destinations, such as MLS, brokerage site, print, social, and paid ads
- Requested turnaround time and launch date
- Known exceptions, including unavailable rooms, weather limitations, or pending repairs
Use predictable filenames such as listing-id_room_view_01.jpg. Avoid ambiguous names like final-final-2.jpg, which make corrections and channel handoffs harder to track.
Pro Tip
Assign one person as the final approver. Specialists can review brand, compliance, and retouching, but one owner should decide whether the complete gallery is ready to ship.
Pass 1: Review the Gallery as a Set
Start in a contact sheet or thumbnail view. Do not zoom in yet. This pass answers whether the gallery communicates the property clearly and consistently.
Coverage Checklist
- The exterior establishes the property and its approach.
- Every important interior space is represented.
- High-value features are easy to find.
- The set includes useful transitions between major spaces where needed.
- Multiple angles add information rather than repeating the same composition.
- No important room is represented only by a weak or obstructed image.
- Seasonal or neighborhood images are current and relevant.
- The gallery does not overrepresent a minor feature at the expense of the home.
Coverage should reflect the property, not a fixed shot count. A compact apartment and a large rural estate need different galleries. Judge whether a buyer can understand the layout and major selling points without guessing.
Sequence Checklist
- The first image is the strongest truthful representation of the listing.
- The opening images establish the exterior or primary living spaces quickly.
- Related rooms appear together.
- The sequence moves through the property without confusing jumps.
- Detail shots support the story rather than interrupting it.
- Amenities, outdoor spaces, and neighborhood context appear in a deliberate position.
- Duplicate or near-duplicate frames are removed.
- The final image feels intentional rather than leftover.
A simple default is exterior, main living area, kitchen, dining, primary suite, secondary rooms, utility spaces, outdoor areas, amenities, and neighborhood context. Change that order when a property's strongest selling point deserves to lead.
Consistency Checklist
- Adjacent images have compatible brightness and contrast.
- White walls and neutral finishes stay consistent across rooms.
- Window views do not shift unnaturally between angles.
- Exterior skies and weather conditions agree across the set.
- Virtually staged furniture remains stylistically and spatially coherent.
- Cropping and camera height feel intentional from room to room.
- The editing style supports the brokerage brand without overpowering the property.
Move quickly through the thumbnails for five seconds. Abrupt shifts in color, exposure, staging, and crop often become more obvious when you stop judging each frame in isolation.
Pass 2: Inspect Priority Images at Full Resolution
Open the hero image, all enhanced or staged images, and any frame that looked questionable in the gallery pass. Review at 100% where practical.
Accuracy and Integrity Checklist
- Walls, doors, windows, built-ins, fixtures, and architectural lines remain accurate.
- Room proportions have not been distorted by stretching or aggressive perspective correction.
- Permanent damage, material defects, and neighboring features have not been concealed.
- Views through windows match the actual property and camera position.
- Landscaping, pools, fire features, and other amenities are not invented or exaggerated.
- Decluttering removes temporary items without erasing permanent features.
- Virtual staging is limited to appropriate spaces and does not imply structural changes.
- Any required disclosure is prepared for the correct image and destination.
When a judgment call is unclear, compare the final image with the source file. Ask whether a person arriving at the property would feel materially misled. For more examples, see our guide to responsible AI photo enhancement and house phishing guardrails.
Retouching and AI Artifact Checklist
- Window frames, railings, stairs, and rooflines are complete.
- Handles, switches, outlets, vents, and light fixtures remain intact.
- Mirrors and reflective surfaces behave logically.
- Furniture legs, shadows, and contact points look natural.
- Flooring, tile, brick, grass, and fabric textures do not repeat or melt.
- Text, house numbers, signs, and appliance controls are not garbled.
- Object removal has not left smears, holes, or impossible geometry.
- Sky replacement has clean roof and tree edges.
- No unexpected people, objects, furniture, or architectural details have appeared.
Technical Image Checklist
- The intended subject is sharp at normal viewing size.
- Verticals are straight and horizons are level.
- Highlights retain useful detail and shadows are not crushed.
- Color casts are controlled without making finishes inaccurate.
- Noise, halos, banding, and compression are not distracting.
- Lens flare, sensor dust, and photographer reflections are removed when appropriate.
- The crop does not clip essential architecture or create awkward tangencies.
- The file opens correctly and uses the expected orientation and color profile.
If a source image is soft, badly framed, or missing important detail, request a reshoot instead of forcing an edit. Enhancement can improve a usable capture, but it cannot restore information the camera never recorded.
Check the Hero Image Separately
The primary image carries more weight than the rest of the set. It appears in search results, portal cards, emails, ads, and social previews, often at a small size. Review it both full-screen and as a thumbnail.
- The property is immediately recognizable.
- The composition remains clear at a small size.
- The image reflects the property's real condition and strongest relevant feature.
- Important details are not covered by likely interface overlays or text.
- The crop works in the main channels where it will appear.
- Brightness and color attract attention without looking artificial.
- There is enough negative space for campaign variants when text will be added outside the MLS.
- A backup hero image is identified for testing or channel-specific crops.
Do not put promotional text, logos, badges, or contact details directly into the master photo. Create separate campaign derivatives so the clean listing image remains reusable.
Validate Each Publishing Channel
A file can be visually excellent and still fail on delivery. Check the latest requirements for each destination rather than relying on one universal export preset.
MLS and Listing Portals
- Dimensions, aspect ratio, format, color space, and file size match the local MLS.
- The image count and primary-photo rules are satisfied.
- Watermarks, signs, people, and branding follow local policy.
- Virtual staging and edited images use the required disclosure method.
- Photos remain legible after the portal's compression and thumbnail crop.
Requirements vary by market and can change. Use our MLS photo requirements guide as a preparation reference, then confirm the current rules directly with your MLS and downstream portals.
Brokerage Website and Email
- Images are large enough for responsive layouts without excessive file weight.
- Alternative text describes the property image rather than stuffing keywords.
- Mobile crops preserve the subject.
- Email images remain understandable if text overlays are removed or images are blocked.
- Asset URLs and usage rights will remain valid for the campaign lifetime.
Social and Paid Media
- Separate crops exist for the placements the campaign will actually use.
- Text and logos stay within platform-safe areas.
- The image, caption, and landing page make the same factual promise.
- Required housing, advertising, brokerage, and AI disclosures are included where applicable.
- Each ad variation can be traced back to an approved master image.
Use a Clear Review Status
Avoid approvals hidden in chat messages or email threads. Give every listing one of four statuses:
| Status | Meaning | Next action |
|---|---|---|
| In review | The first complete delivery is being checked | Do not distribute |
| Changes requested | Specific corrections are required | Return an annotated list to the owner |
| Approved with exceptions | The set can launch with documented limitations | Record the exception and affected channels |
| Approved | The master set passed review | Create channel derivatives and publish |
Every change request should identify the filename, problem, expected correction, owner, and due time. "Fix the kitchen" is not actionable. "Kitchen-wide-02: neutralize the green cast without changing cabinet color" is.
Sample a Large Batch Without Lowering the Standard
When a team handles high volume, it may not be practical to inspect every routine file at 100%. Risk-based sampling keeps review time focused without skipping the important checks.
Always inspect:
- Every hero-image candidate
- Every virtually staged image
- Every image with object removal, sky replacement, or major retouching
- Every frame flagged by the photographer, editor, or automated process
- Any listing from a new vendor or workflow
- Any image intended for a large-format or high-spend campaign
For routine exposure and color corrections, inspect the complete thumbnail gallery and a representative full-resolution sample from each room or treatment group. Increase the sample when errors appear. The two-lane workflow for high-volume real estate photographers uses this same principle: automate repeatable work while routing exceptions to a human reviewer.
Track the Metrics That Improve the Process
A checklist becomes more valuable when the team records why work fails. Track a small set of operational measures:
- First-pass approval rate
- Average review time per listing
- Revision rounds per listing
- Most common rejection reason
- Approval rate by photographer, editor, or vendor
- MLS or portal rejection count
- Corrections requested after publication
- Percentage of listings delivered by deadline
Review trends monthly. If color inconsistency causes most revisions, improve the editing preset and training. If missing rooms are common, fix the capture brief. If disclosure errors recur, move that check earlier in the handoff.
Copyable Final Approval Checklist
Use this compact version in your project management system or delivery template:
- Property identity and source files confirmed
- Required rooms and selling features covered
- Gallery order approved and duplicates removed
- Hero image approved at full size and thumbnail size
- Exposure, white balance, perspective, and skies consistent
- Architecture, condition, views, and permanent features accurate
- Enhanced and staged images checked against their sources
- AI and retouching artifacts cleared
- Dimensions, format, color space, and file size validated per channel
- Branding and disclosure requirements confirmed per channel
- Social, email, web, and ad crops derived from the approved masters
- Filenames, usage rights, owner, and approval status recorded
- Final set archived separately from proofs and source files
Build Quality Control Into the Workflow
The best review process is predictable, fast, and difficult to bypass. Use one master gallery, two review passes, a named approver, channel-specific validation, and an auditable status. That structure catches the problems buyers notice, the errors platforms reject, and the inconsistencies that weaken a campaign.
Most importantly, review accuracy before aesthetics. A beautiful image earns attention; a truthful, consistent set earns trust.
Create Consistent Listing Photos at Scale
Standardize routine enhancements with PropertyPixel, then keep your team focused on accuracy, exceptions, and final approval.
No card required · Free results include a watermark
Continue Reading
AI Workflow for High-Volume Real Estate Photographers
Build a two-lane production system for routine images and complex exceptions
Read articleMLS Photo Requirements: The Complete Guide
Prepare image dimensions, formats, branding, and disclosures for listing delivery
Read articleHouse Phishing and Responsible AI Guardrails
Understand the line between useful enhancement and misleading property marketing
Read articleReal Estate Image Workflow for Property Portfolios
Govern image intake, versions, approvals, channels, and refreshes across locations
Read articleTry it on a photo from your next listing.
Brighten a room, clear clutter, or try virtual staging. Start with 500 free credits. No card required. Free results include a watermark.