
PropertyPixel × ChatGPT
PropertyPixel for ChatGPT
Attach your listing photos, say what you want, and approve the cost. Enhanced photos, staged rooms and listing videos appear right in the conversation.
Free to start · You approve every spend
How it works
- 1
Connect once
Add PropertyPixel to your assistant, sign in, and choose the workspace it can use.
- 2
Ask in plain words
Describe the edit you want for a listing. Attach photos, paste links, or upload from your phone.
- 3
Approve, then review
See the cost (100 credits per enhanced photo) and approve it. Results appear in the chat in about a minute.
Brighten the interiors in 14 Harbour Street and give the front a blue sky.
That's 3 photos with Improve Lighting and Blue Skies. Here's the cost:
Done. Here are your results:
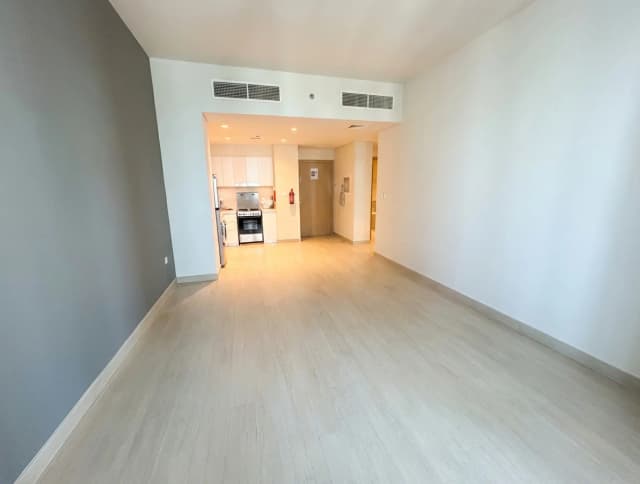
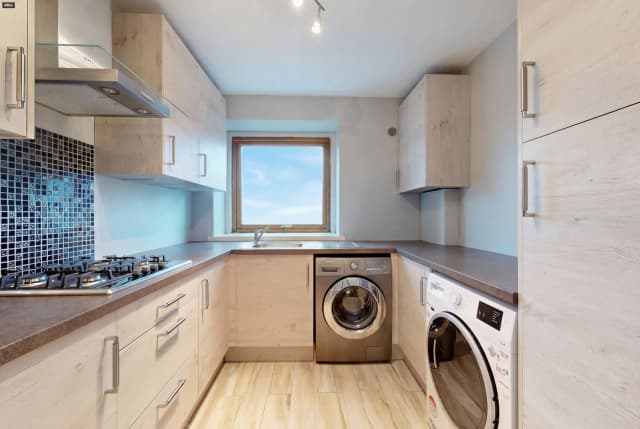

What you'll see in ChatGPT
A price card before every spend
See what will run, what it costs and your balance after. Select Run to go ahead.
Results that update themselves
A gallery shows progress, then before and after for each photo, without you asking again.
A QR code for your phone
Ask for an upload link and scan it to send photos from your camera roll.
Things you can ask
- “Create a project for 14 Harbour Street and add these photos.”
- “Brighten all the interiors and give the front a blue sky.”
- “Stage the empty living room in a Scandinavian style, two options.”
- “Make a listing tour from the exterior, kitchen, living room and main bedroom.”
- “Which of these photos need work? Run your suggestions.”
Add PropertyPixel to ChatGPT
Takes about two minutes.
- 1
Open developer mode
In ChatGPT, go to Settings → Apps & Connectors → Advanced settings and turn on Developer mode.
- 2
Create the app
Select Create, name it PropertyPixel, and paste this URL:
https://mcp.propertypixel.app - 3
Sign in and choose access
Sign in to PropertyPixel (or create a free account), pick a workspace, and choose View only or View and edit.
- 4
Ask for an edit
Start a chat, attach a few listing photos, and describe what you want.
PropertyPixel is on its way to the ChatGPT app directory. Once it's listed, you'll be able to find it under Apps and connect in one click.
More detail, including how to get photos in, is in the ChatGPT quickstart.
You stay in control
ChatGPT works inside the limits you set when you connect.
Nothing runs without your OK
Your assistant shows the cost and your balance first. Credits are only spent after you approve that exact request.
One workspace, your choice
When you connect, you pick the workspace your assistant can use. It can't see or spend from any other.
View-only if you prefer
Give view-only access to let it browse projects and results without changing or spending anything.
Disconnect any time
Revoke the app in Settings → Developers and it loses access immediately.
Questions
- Can I attach photos directly?
- Yes. Photos you attach to your message are added to the project. You can also paste links (including public Dropbox and Google Drive links) or upload from your phone with an upload link.
- Can I buy credits in ChatGPT?
- No. ChatGPT spends the credits in your PropertyPixel workspace. To add credits or change plan, go to propertypixel.app.
- Does it use my credits?
- Yes, at the same prices as the web app, from the workspace you connected. You see the cost before anything runs, and failed edits are refunded automatically.
- What can the assistant see?
- Only what PropertyPixel's tools return, such as project names, photo links and job status, for the workspace you connected. PropertyPixel doesn't receive your conversation.
- How do I disconnect?
- Revoke the app in Settings → Developers. It loses access immediately. You can also remove it from your assistant's settings.
Try it on your next listing
New accounts get 500 free credits, enough to enhance 5 photos. No card needed; free results include a watermark.